|
|||
|
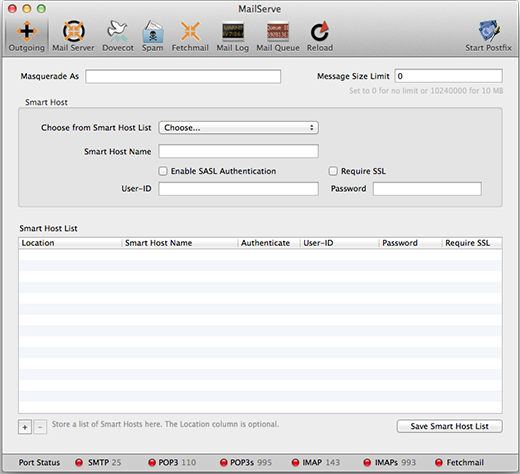
Step 1 • Sending Mail to other Mail Servers The Outgoing Panel MailServe's Outgoing Mail Setup Panel can be reached via the first (extreme left) button on its Toolbar, below.
Click on the Start Postfix button. The SMTP port status indicator at the bottom-left of the window will turn ember It's that easy. Your Mac is now ready to send mail as a fully-functioning smtp server.
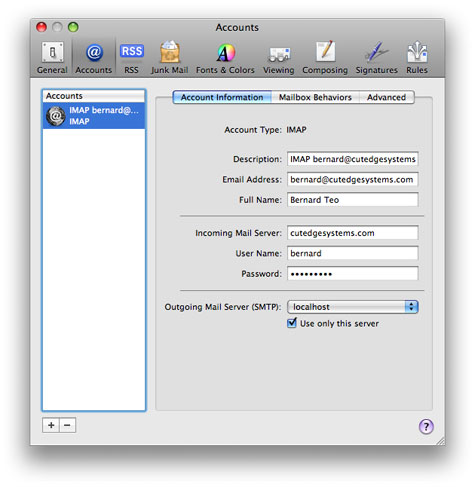
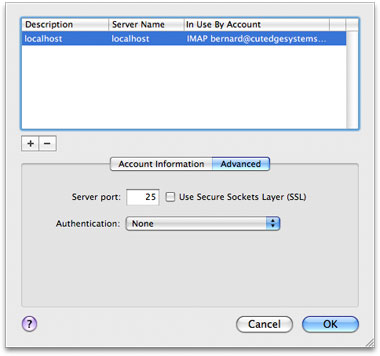
With the Postfix SMTP server now active, you should be able to send mail from a mail client like Mail.app running your server machine, as well as any PHP or command-line scripts. There are a couple of cases where this is not enough and you would have to take the additional step of setting up a Smart Host. One is where you're on a network whose ISP blocks port 25, thus preventing your server from sending out any mail—unless the mail is routed first through the ISP's designated SMTP server, using it as a Smart Host. The other is if your server is on a dynamically assigned public IP address and you're finding a lot of your outgoing mail being returned as spam—this is because some mail server admins assume that all mail coming from a dynamic IP address are spam (which is a rather simplistic assumption but never mind). In either of these cases, the problem can be solved by routing your server's outgoing mail through a Smart Host. Please read the "Setting up a Smart Host" section below. Sending mail from Mail.app, running on the server machine This is how you set up Mail's Account Preferences, running on your server machine, to send mail out the local SMTP server that you had just enabled. The Incoming Mail Server is any POP or IMAP server that I currently use. The important setting is for the Outgoing Mail Server (SMTP), below, which I've set to "localhost", localhost being the correct technical term for the local server.
So, if I create a new message in Mail and send it to my intended destination using the "bernard@cutedgesystems.com" account, I would be effectively sending it out that local Postfix SMTP server that I had just enabled. If my ISP doesn't block port 25, and if the destination mail server is not running any spam filter that blocks mail from dynamic IP addresses, then my message would reach its destination. If not, I'll need to set up a Smart Host (see further below). Sending mail from a PHP script running on your server To make this work for PHP, you need to fill in the Masquerade As field with the domain name that you want to make the mail look like its coming from. In my case, I would fill it with "cutedgesystems.com". (Don't forget to do a Restart Postfix.)
Then I would create a PHP script like this, which uses the PHP mail() command, assuming I'm sending to a destination address at mac.com :
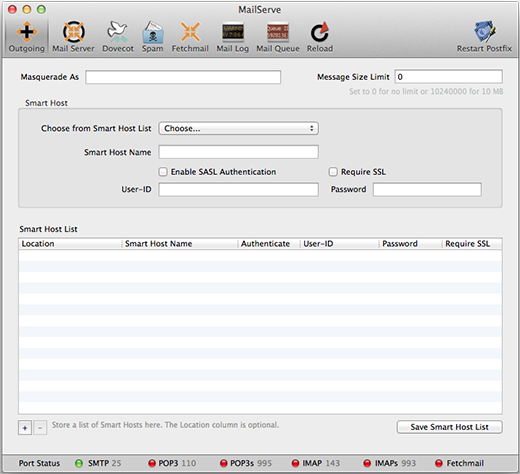
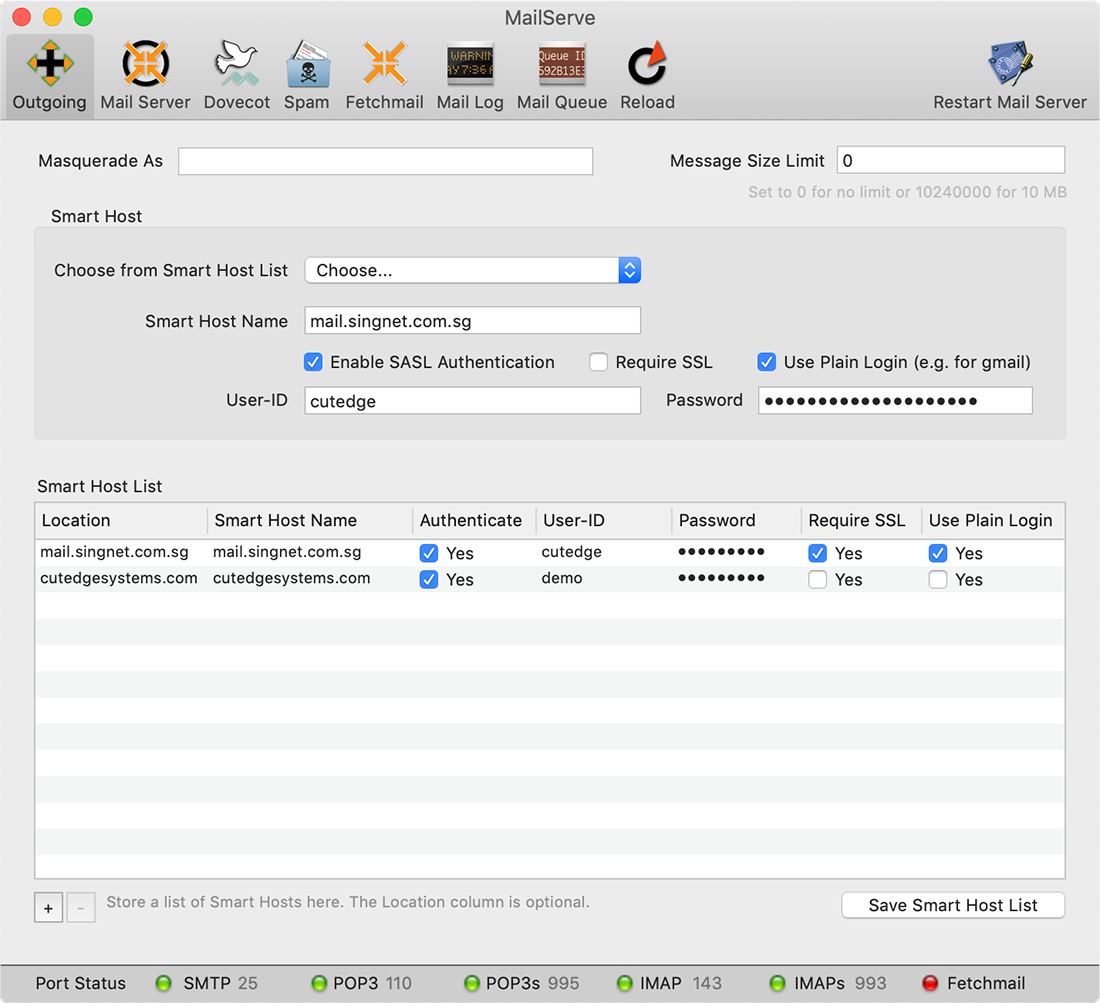
Place this script anywhere on your server and run it by typing the script's URL from a browser. If all goes well, you'll see the message appear at your destination. Otherwise, you may need to set up a Smart Host. Setting up a Smart Host This is how you set up a Smart Host. First, check with your Internet provider and ask them for an SMTP server you can use as a Smart Host. Ask if you need to authenticate with it, the user name and password you should use, and whether it requires the connection to be made over SSL, or via a port other than port 25. Enter all these parameters into the MailServe interface, as shown below. Note : if the Smart Host needs to be contacted on a port other than 25, add the port number after the Smart Host name, after a colon. Like this : mail.singnet.com.sg:587 Version 12.0.2 added a new “Use Plain Login” checkbox to the outgoing smtp relay host parameters. This is needed, e.g., if the relay host is smtp.gmail.com, which requires the password authentication mechanism to be of type “plain”, or some such similar smtp servers. If you’re having trouble authenticating with a relay host, try with this option set.
If you prefer not to ask your ISP, then the parameters you should use are probably those you would enter into a Mail client like Mail.app, if you were to use your ISP's designated outgoing SMTP server as the Outgoing Mail Server in Mail's account preferences. But do note this : some ISP network admins have set up their SMTP server to, specifically, refuse to relay for mail coming from another mail server, as opposed to a normal mail client. So it's often important to check. Some ISPs may simply unblock port 25 for you, if you would just ask. If you need to save a list of Smart Hosts, for when you are on different networks or locations, store them in MailServe's Smart Host list. You can pick them up in the popup menu when you're setting the Smart Host. |
|
||